How to Change A Boat Propeller
Let me tell you something every boat owner learns sooner or later: knowing how to swap out a propeller can save you a ton of headaches—and cash—on the water. I've been there—stuck with a dinged-up prop miles from shore, wishing I'd learned this skill earlier.
Why Bother Changing Your Propeller?
Your propeller is the running shoes of your boat—it's got to be in tip-top shape for peak performance. A beat-up or mismatched prop can take a smooth ride and make it a frustrating day on the water. We're talking about things like:
-
Excessive fuel burn
-
Inability to reach proper speeds
-
Annoying vibrations rattling your teeth
Trust me, I've learned these lessons the hard way – and now I'm saving you the trouble.
What You'll Need
The following are what you will need, nothing fancy:
-
Propeller wrench—or a good socket wrench
-
Flathead screwdriver
-
Marine grease—don't be stingy with this
-
Needle-nose pliers
-
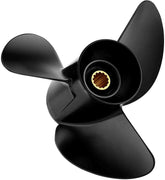
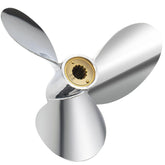
Your new propeller
-
Safety gloves—protect those hands!
-
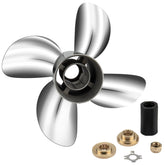
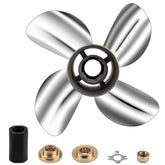
Maybe a propeller nut kit—just in case
- A piece of wood (to stabilize the propeller)
The Step-by-Step Swap
Step 1: Safety First, Always
Before you do anything, kill the engine and remove the key. Seriously. No exceptions. If you're working on a boat in the water, find a stable surface or use a boat lift.
Step 2: Inspect and Remove the Old Prop

First things first—take a good look at your current propeller. Any cracks? Chips? Weird wear patterns? This isn't just curiosity—it's detective work that'll help you understand what's been going on with your boat.
To remove the old prop:
-
Find that locking tab washer and carefully bend it away from the nut.
-
Loosen the nut—turn it counterclockwise.
-
Pull the propeller straight off the shaft.
Pro tip: If it's stuck, give it a little wiggle. Don't Hulk out and break the shaft.
Step 3: Prepare for the New Prop

Clean that shaft down like you're going into surgery. Wipe off old grease, dirt, everything. Then—and this is important—take a thin layer of marine-grade grease on the shaft. Like sunscreen for your boat's metal bits.
Step 4: Installing the New Propeller

This is where the precision comes in:
-
Slide the thrust washer on.
-
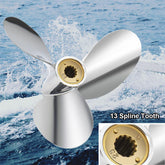
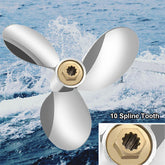
Carefully align the new prop's splines with the shaft.
-
Gently push it into place.
-
Tighten the nut (check your manufacturer's specs for exact torque).
-
Bend those locking tabs back.
Step 5: Final Checks
Before you celebrate, do a manual spin test. The prop should rotate smoothly without any wobble. If something feels off, double-check your work.
Maintenance Pro Tips
-
Keep a spare prop on your boat. Just do it.
-
Check your prop regularly—catch issues before they become problems.
-
Know your boat's exact propeller specifications.
Real Talk
Swapping out a prop isn't as tough as it sounds. Just be patient, do each step carefully, and you'll have your boat ready to hit the water before you know it.
A Word About Choosing Propellers
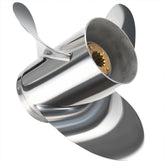
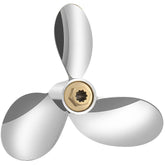
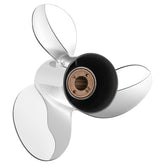
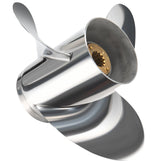
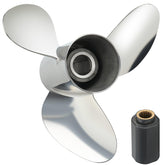
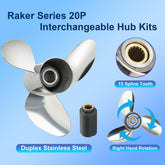
Alright, let me tell you about VIF propellers. I've been boating for years, and finding the right prop can be a real pain. But these guys? They've made it so much easier. When I first tried their propeller, I was skeptical – you know how it goes with new brands. But here's the deal: they offer a 30-day free return. So if something's not right, I know I can send it back, no questions asked.
What really sold me was their U.S.-based customer service. I've dealt with enough offshore support to know how frustrating that can be. With VIF, if I run into any issues, I can actually talk to someone who understands boats and knows what they're talking about. And the price? Honestly, it's a steal. I've spent way more on props that didn't perform half as well.

Finding the right propeller is crucial. These guys get that. Their props are solid, reliable, and won't empty your wallet. Trust me, I've been around the block a few times, and I know a good deal when I see one. If you're in the market for a new prop, give VIF a shot. You won't regret it.


